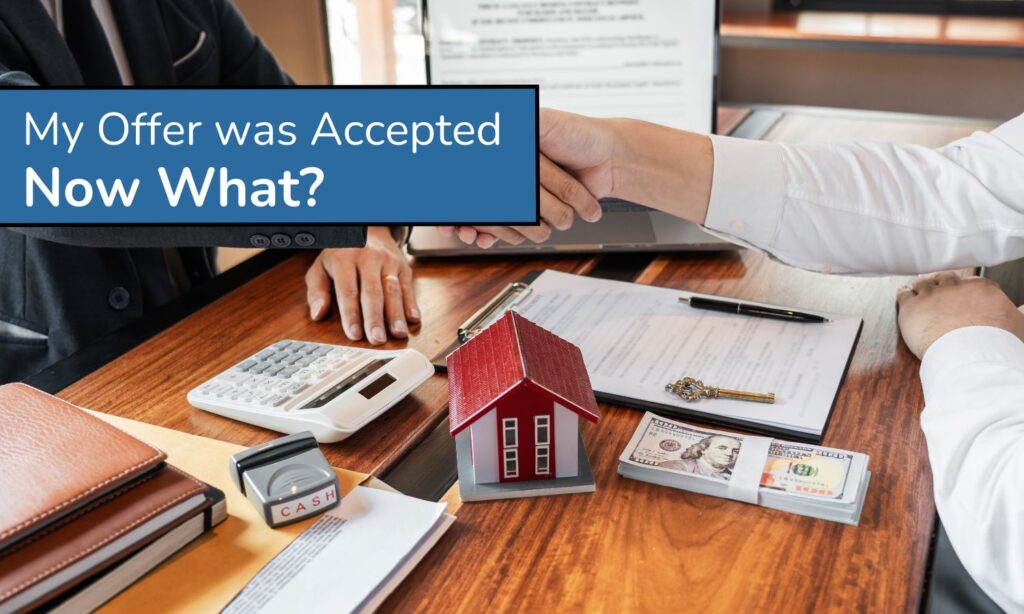
You’ve been searching for the perfect home, made your offer, and just received the exciting news: Your offer was accepted! This is a huge milestone—congratulations! But if you’re like many homebuyers, especially first-timers, your next thought might be, Now what?
The home buying process doesn’t end with an accepted offer—in fact, it’s just the beginning of a series of important steps that take you from offer to ownership. This guide walks you through everything that happens after your offer is accepted, all the way until you unlock the front door to your new home.
Whether you’re a first-time buyer or it’s just been a while since you bought a home, this post will give you a clear roadmap of what to expect and how to stay prepared.
Immediate Next Steps After Offer Acceptance
1. Submit Your Earnest Money Deposit
Once your offer is accepted, one of the very first things you’ll need to do is submit your earnest money deposit—typically within 1–3 days. This is a good faith deposit that shows the seller you’re serious about purchasing their home. The amount varies by market but usually ranges from 1% to 3% of the purchase price.
The earnest money will be held in an escrow account and later applied to your down payment or closing costs. If the deal falls through for a reason covered by your contingencies (like financing or inspection issues), you typically get this money back. But missing deadlines or backing out for reasons not protected by your contract could put that deposit at risk.
2. Sign the Purchase Agreement
While you likely signed a purchase offer already, the formal purchase agreement will now need to be executed. This legally binding document outlines all the agreed-upon terms, including:
- Price
- Contingencies (inspection, financing, appraisal, etc.)
- Timeline and closing date
- Items included in the sale
It’s crucial to read this thoroughly—ideally with the help of your real estate agent or attorney—so you understand all your obligations moving forward.

Start the Loan Process (If Financing)
1. Submit Your Final Loan Application
If you’re financing your purchase, it’s time to move quickly. You may already be pre-approved, but now your mortgage lender needs to finalize the application based on the specific property. You’ll be asked to submit updated documents like:
- Recent pay stubs
- Bank statements
- Tax returns
- Proof of assets and debts
Your lender will then initiate the underwriting process, where your financials are reviewed in detail to ensure you qualify for the loan.
2. Schedule the Home Appraisal
After the loan is underway, your lender will order a home appraisal—an independent assessment of the property’s value. This is essential to make sure the home is worth the amount you’ve agreed to pay. If the appraisal comes in at or above the purchase price, great! But if it comes in low, you may need to renegotiate the price, bring additional cash to the table, or even walk away if your contract allows.
The appraisal protects both you and the lender from overpaying, and it’s a critical step in the loan approval process.
Home Inspection and Negotiations
1. Schedule the Home Inspection
The home inspection is one of the most important steps in the buying process. Even if the house looks perfect, a professional inspector may uncover issues not visible to the untrained eye—like plumbing leaks, electrical problems, foundation cracks, or a roof in need of repair.
Typically, you’ll schedule this within a few days of offer acceptance, and your contract will likely include a contingency that allows you to cancel or renegotiate based on the findings. Inspections usually cost between $300 and $600, depending on the size and location of the home.
During the inspection, you’re encouraged to attend. It’s a valuable opportunity to learn about the home’s condition, future maintenance needs, and ask questions directly.
2. Respond to Inspection Findings
After the home inspection, you’ll receive a detailed report. If it reveals serious issues, you have a few options:
- Request repairs
- Ask for a credit or price reduction
- Proceed as-is
- Cancel the contract (if your contingency allows)
Your real estate agent will help you negotiate with the seller based on the findings. While no home is perfect, the goal is to ensure you’re not facing unexpected or costly repairs right after moving in.

Title Search and Insurance
1. Title Search
Your title company or real estate attorney will now perform a title search to ensure that the property you’re buying has a clear legal title. This means confirming:
- The seller has the legal right to sell the property
- There are no outstanding liens (such as unpaid taxes or contractor bills)
- No disputes over ownership or property boundaries
This step is critical to protect you from potential legal headaches down the road.
2. Title Insurance
To further protect yourself, you’ll also purchase title insurance, typically a one-time fee paid at closing. This covers you (and your lender) in case someone challenges your ownership after the sale due to errors, omissions, or fraud discovered after the fact.
Most lenders require it, but even if you’re buying with cash, it’s a smart safeguard for your investment.
Contingency Periods and Removal
1. What Are Contingencies?
Contingencies are conditions written into your contract that must be met for the sale to proceed. Common ones include:
- Home inspection contingency
- Financing contingency
- Appraisal contingency
- Sale of current home contingency (if applicable)
These are your safety nets—if one isn’t satisfied, you can walk away from the deal without losing your earnest money.
2. Monitoring Deadlines
Each contingency has a set deadline. It’s important to stay on top of these dates to avoid breaching your contract. Your agent and/or transaction coordinator will typically track these for you, but you should understand them too.
3. Removing Contingencies
Once you’re satisfied that each condition has been met, you’ll formally remove the contingencies in writing. After this point, backing out of the deal can be much harder (and costlier), so be sure all inspections, approvals, and paperwork are in place before proceeding.

Preparing for Closing
With contingencies cleared, you’re now in the final stretch before the big day. Here’s what happens in the lead-up to closing.
1. Final Loan Approval (Clear to Close)
Once your lender has reviewed all documents, completed the appraisal, and satisfied underwriting requirements, you’ll receive what’s known as a “clear to close.” This means your loan is fully approved, and all that remains is signing the paperwork and transferring funds.
You’ll receive a Closing Disclosure at least three business days before closing. This outlines your final loan terms, interest rate, monthly payment, and exact closing costs. Review it carefully and ask your lender or agent to clarify anything you don’t understand.
2. Homeowners Insurance
You’ll need to purchase homeowners insurance before closing and provide proof to your lender. It’s often required to be effective on the closing date. Make sure your policy covers the replacement cost of the home and any specific risks (like flood or wildfire) in your area.
3. Final Walkthrough
Usually scheduled 24–48 hours before closing, the final walkthrough is your chance to confirm:
- The home is in the same condition as when you made the offer
- All agreed-upon repairs were completed
- No unexpected issues (like water damage or items left behind)
It’s not a new inspection, but a final check to ensure the home is ready for you.
Closing Day
Closing day is the moment everything becomes official. Here’s what to expect.
1. Signing the Documents
You’ll meet with the title company, attorney, or escrow officer to sign the stack of documents required to finalize the transaction. These include:
- The mortgage note and deed of trust (if financing)
- Settlement statements
- Property transfer documents
- Final disclosures
Your agent or lender may be present to help explain any documents if needed.
2. Pay Your Closing Costs
You’ll wire the funds or bring a certified check to cover:
- Down payment
- Loan origination fees
- Title and escrow fees
- Prepaid taxes and insurance
Your Closing Disclosure will tell you the exact amount, so you can plan ahead.
3. Get the Keys
Once everything is signed and the funds are disbursed, the transaction is recorded with the county—and you officially become the legal owner of your new home. In most cases, this means you’ll get the keys that same day.
Moving In
The house is yours—but there are still a few things to take care of to ensure a smooth transition.
1. Schedule Your Move
Coordinate movers or rent a truck based on your possession date (often the same day as closing). If possible, plan for a buffer in case of any delays.
2. Set Up Utilities and Services
Contact utility providers to start services on your move-in day. This includes:
- Electricity
- Gas
- Water/Sewer
- Trash
- Internet/Cable
Also, don’t forget to update your address with the postal service, DMV, and any relevant banks or subscriptions.
3. Change Locks and Get Settled
Even if you trust the sellers, it’s smart to change the locks or rekey the doors. Then, take some time to walk through your new home and get acquainted with systems like HVAC, appliances, and circuit breakers.
Unpack at your own pace—and enjoy the incredible feeling of finally being home.
Conclusion
An accepted offer is an exciting moment—but it’s only the beginning of your journey to homeownership. By understanding each step that follows, from inspections and financing to closing and move-in, you’ll be empowered to navigate the homebuying process with confidence.
If you’re planning to buy a home and want expert guidance every step of the way, we’re here to help. Contact us today to get started on your path to owning your dream home!